Elegant Refresh: Bathrooms Before and After

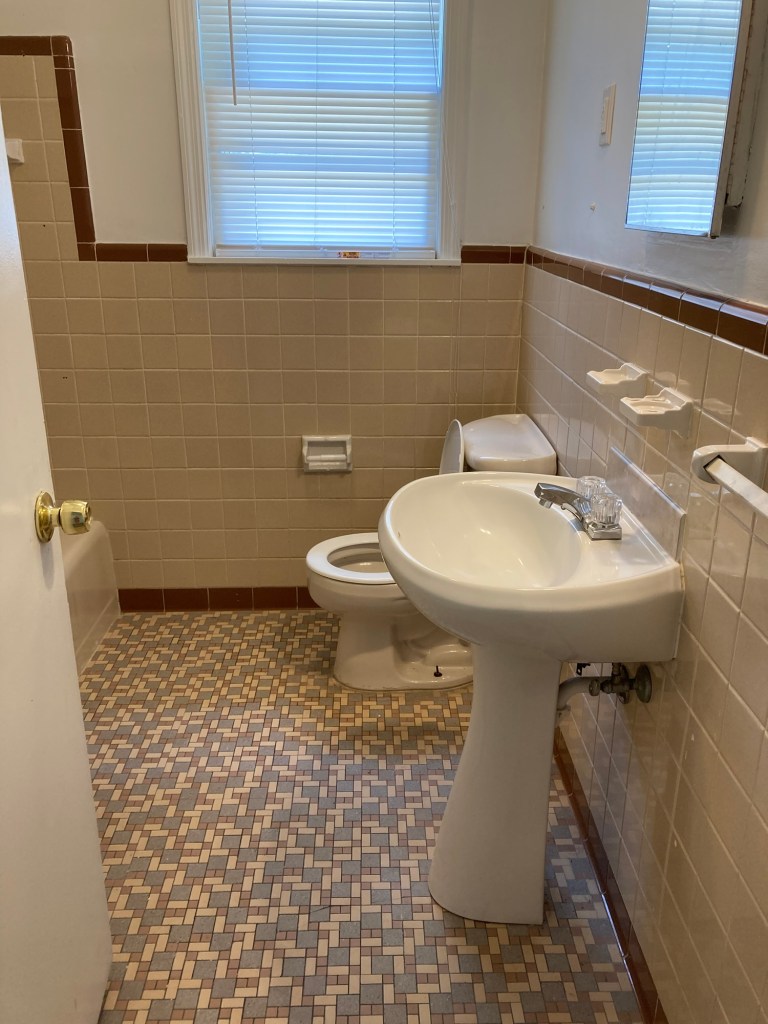
I adore most of the original, 1940’s details in my own fixer upper (the doorway arch, old doorknobs, obviously the phone nook), but from the second I first walked into these two bathrooms, I was ready for a change.

These spaces lacked the charm of the rest of the home and frankly, just did not appeal to me.

I called the brown and orange bathroom (who chose that color combo?) the Ralphie from A Christmas Story bathroom…yuck!
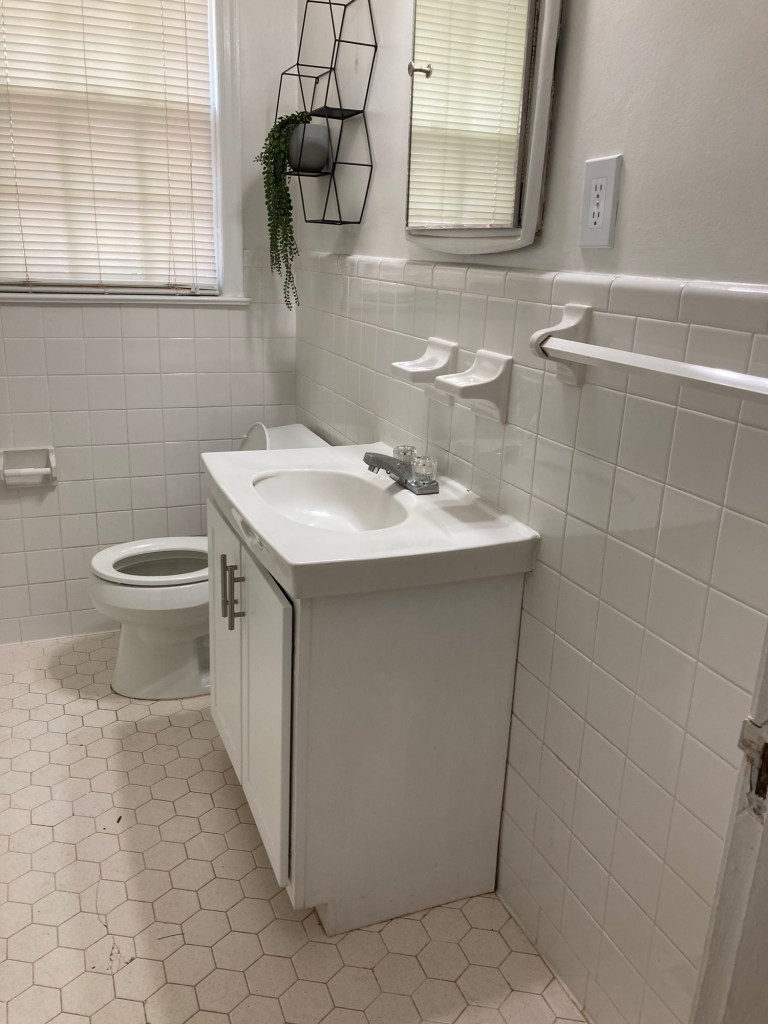
And then there was the white, just white bathroom…I guess it was meant to blandly counter the nasty colors in the other bathroom…
My pretty home deserved better

…and I was inspired!

It’s understandably trendy for most of a home’s finishes to match, but I simply wanted to enjoy two different looks in my own home. Plus my bathrooms cannot be seen at the same time, and there’s plenty of neutral space to give a break between them.

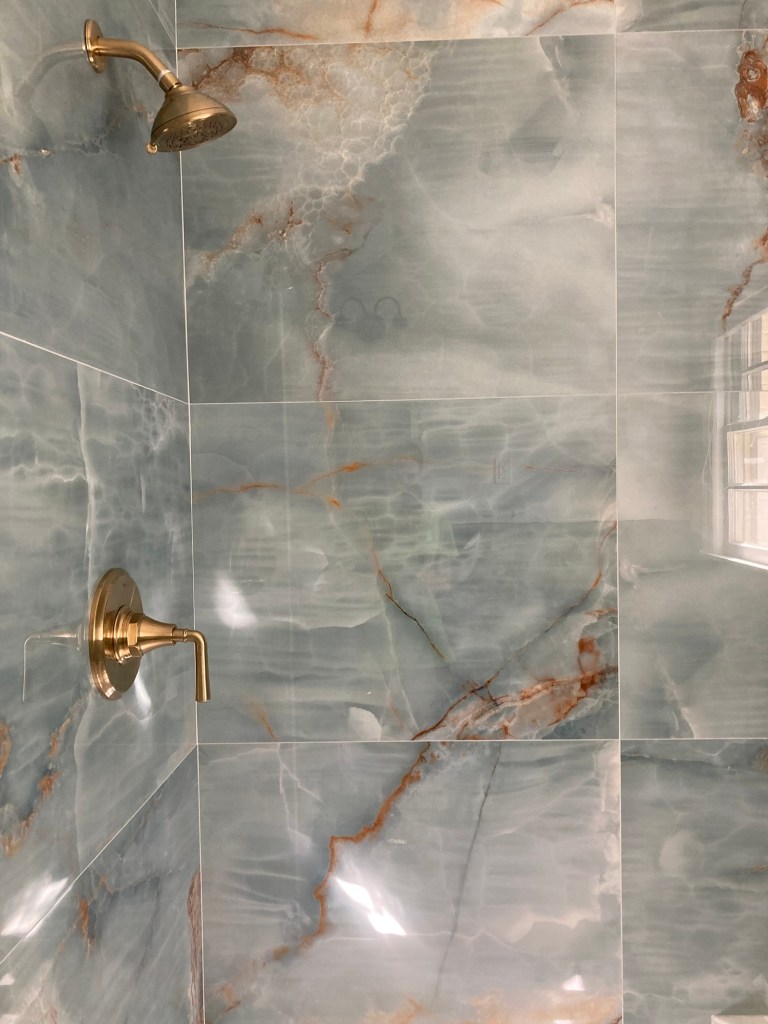
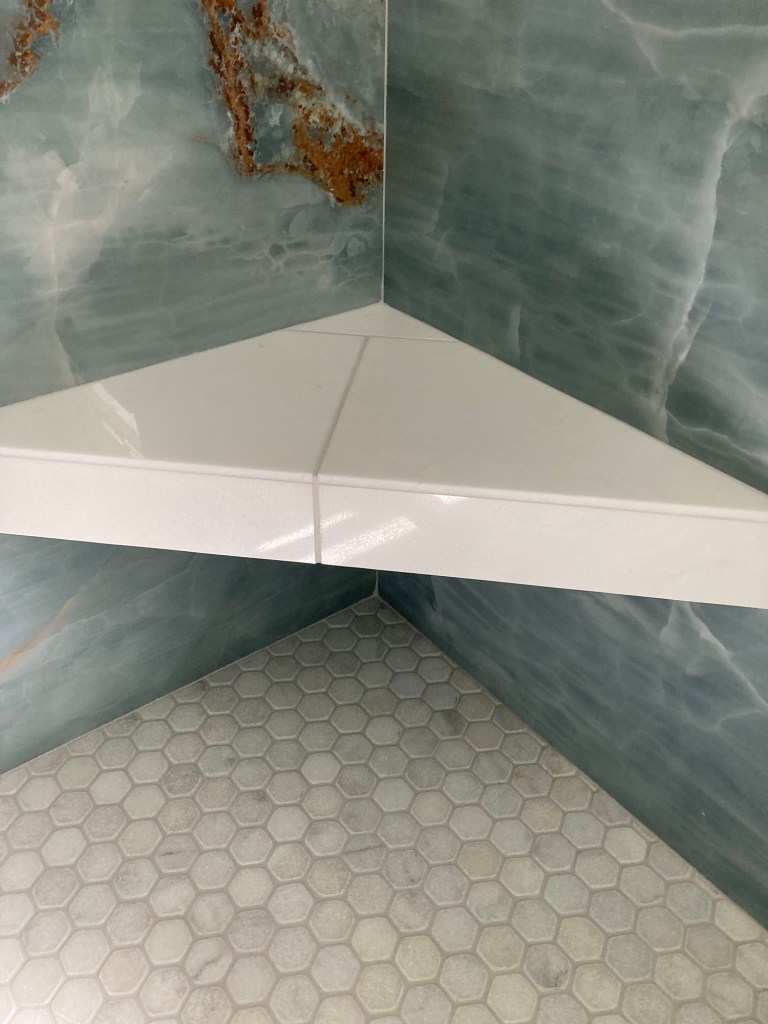
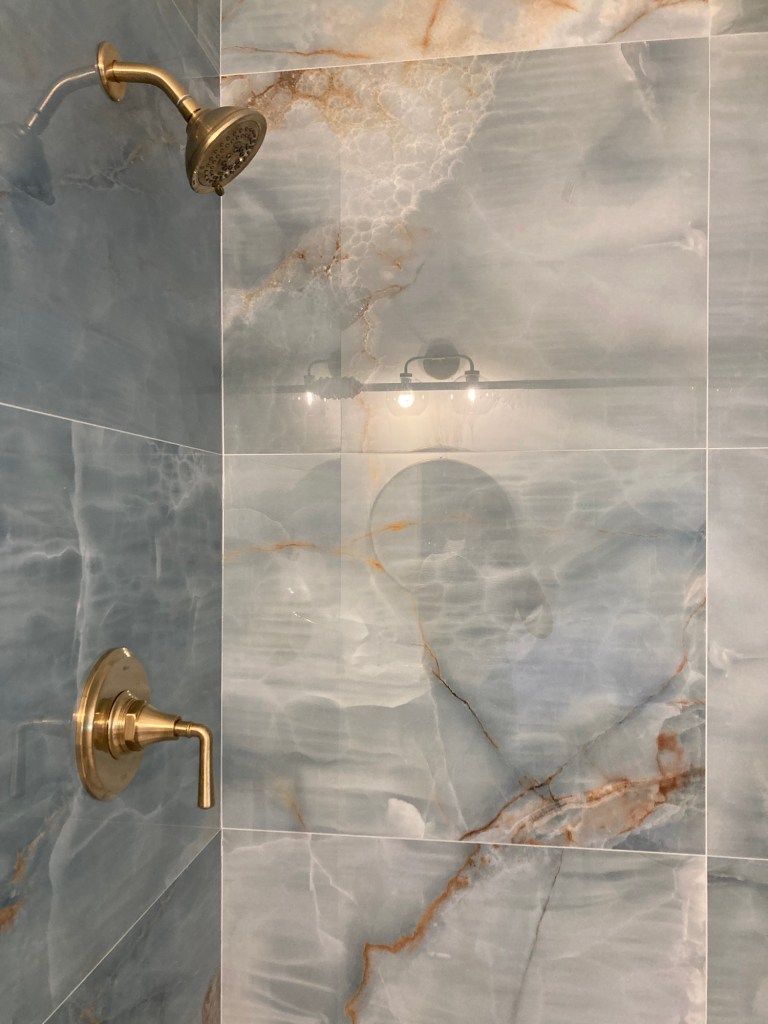
The brown bath became a spa-like setting that reminds me of one of my favorite places, Florida.
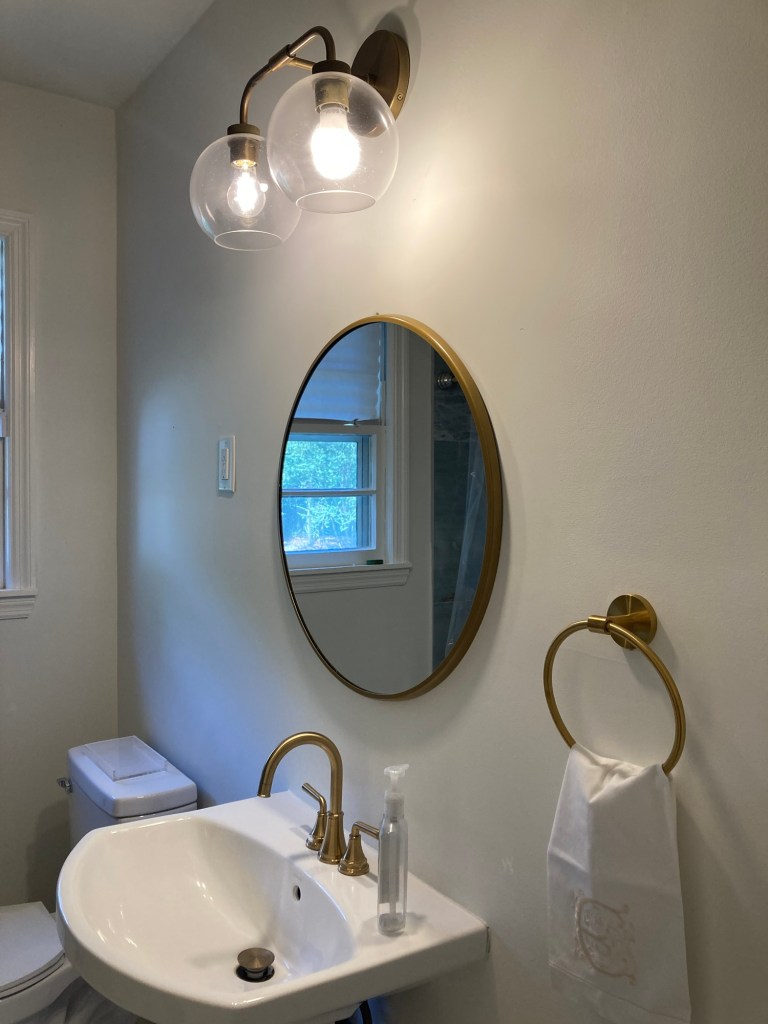
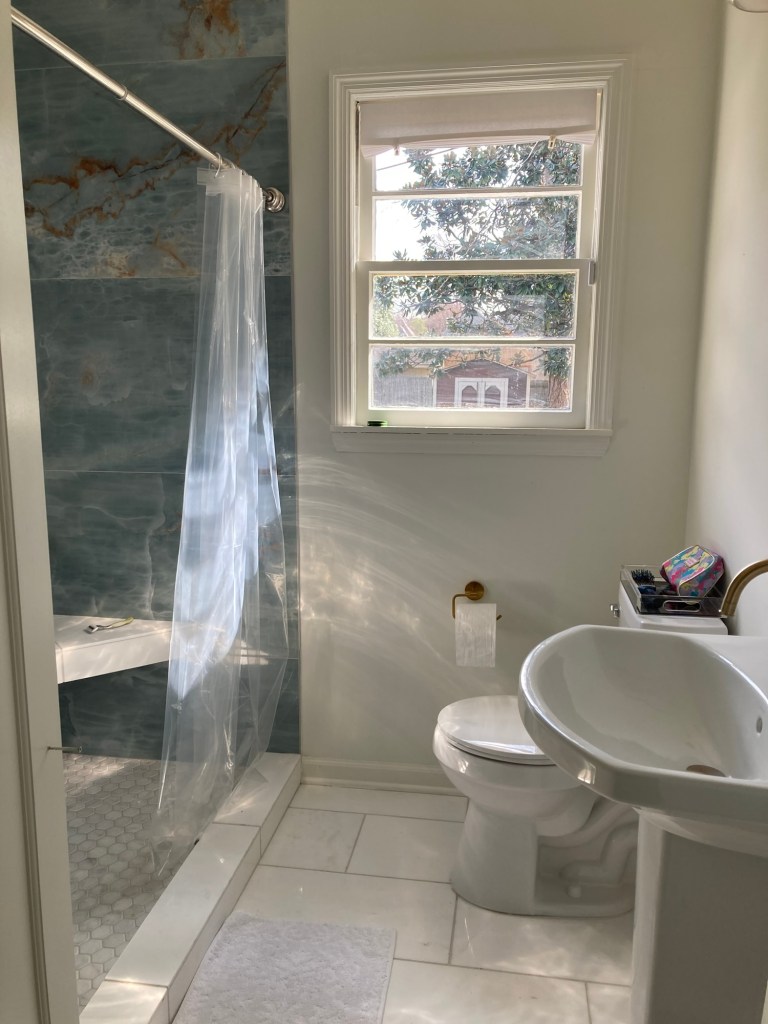
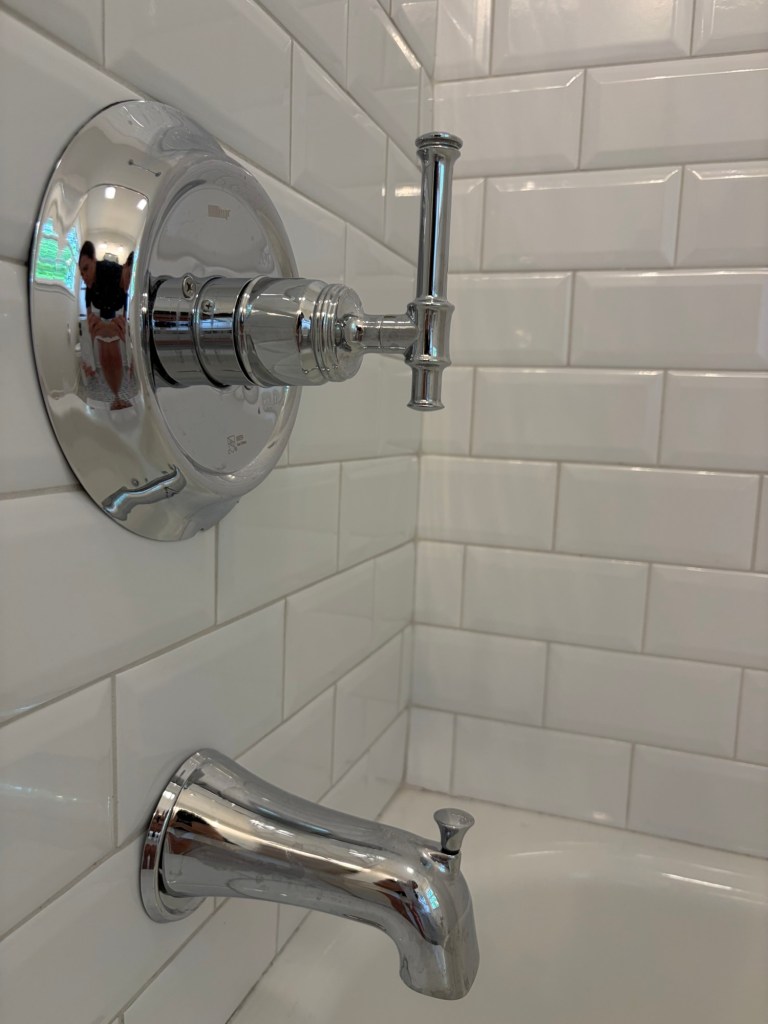
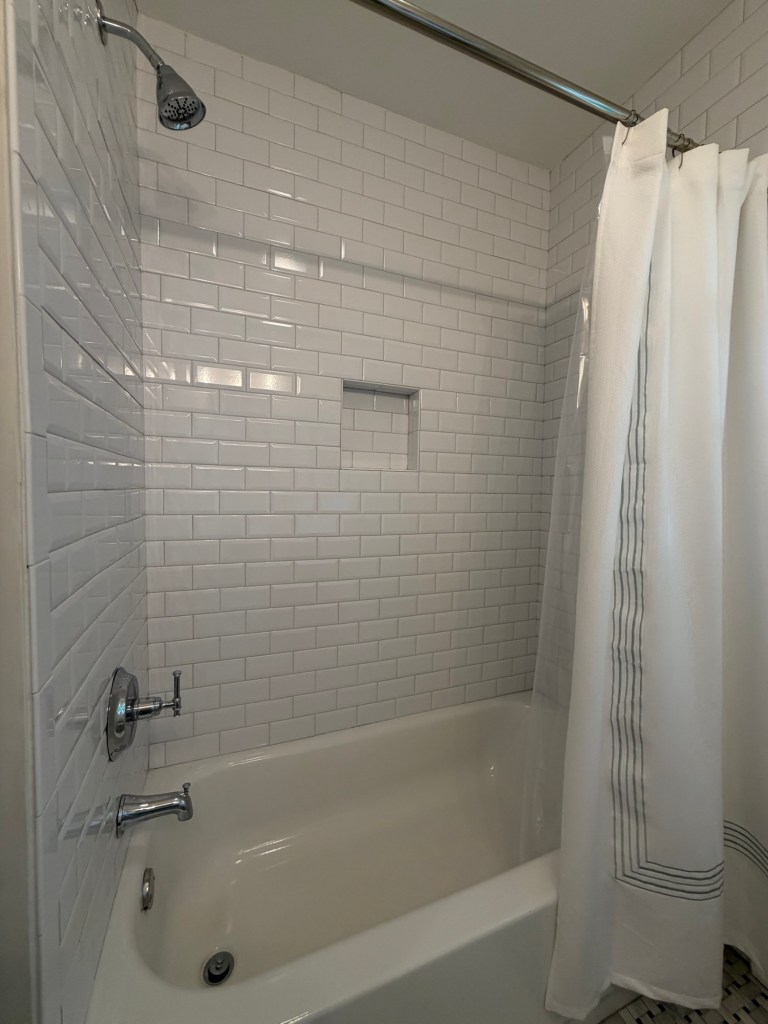
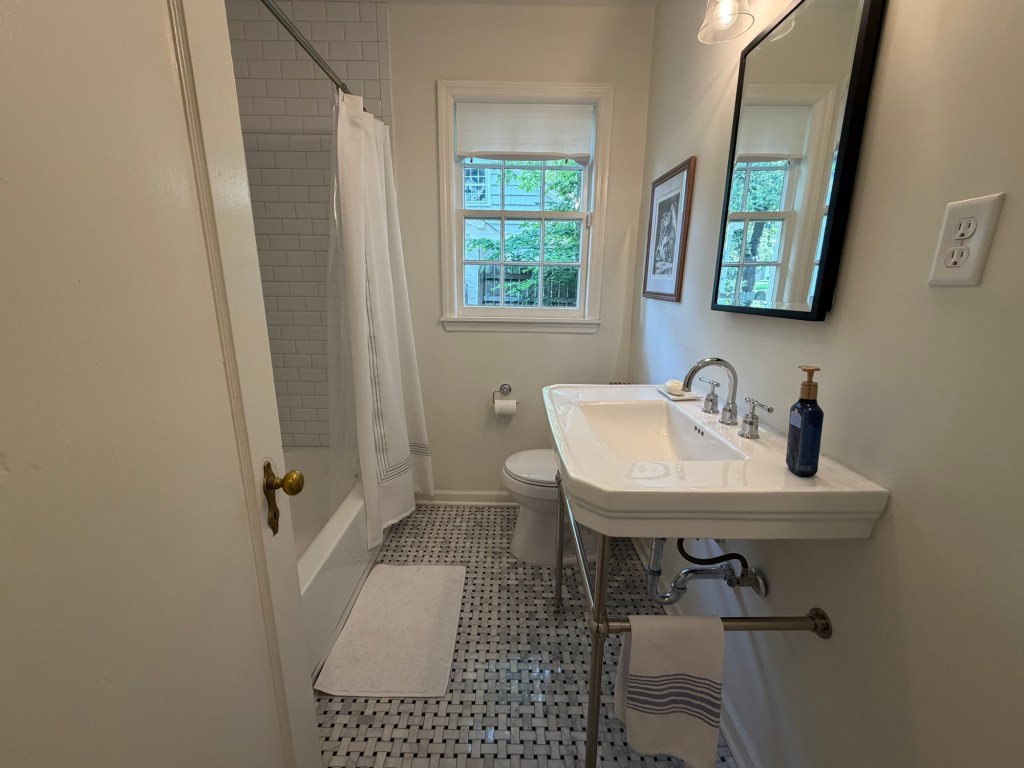
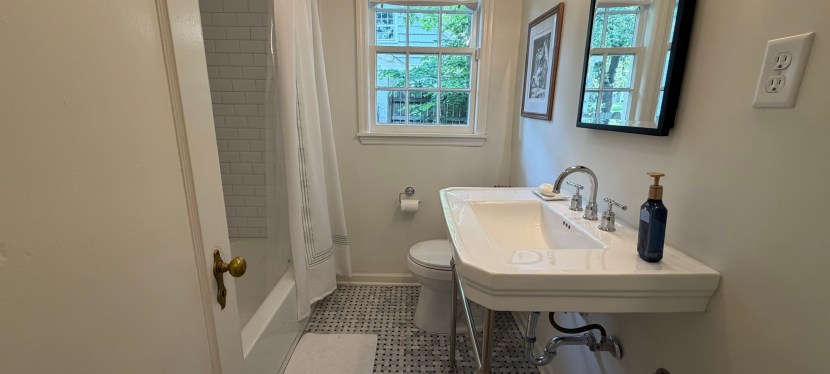
For the white bath, I was inspired by the timelessly glamorous bathrooms in my favorite New York City hotel, The Intercontinental Barclay.
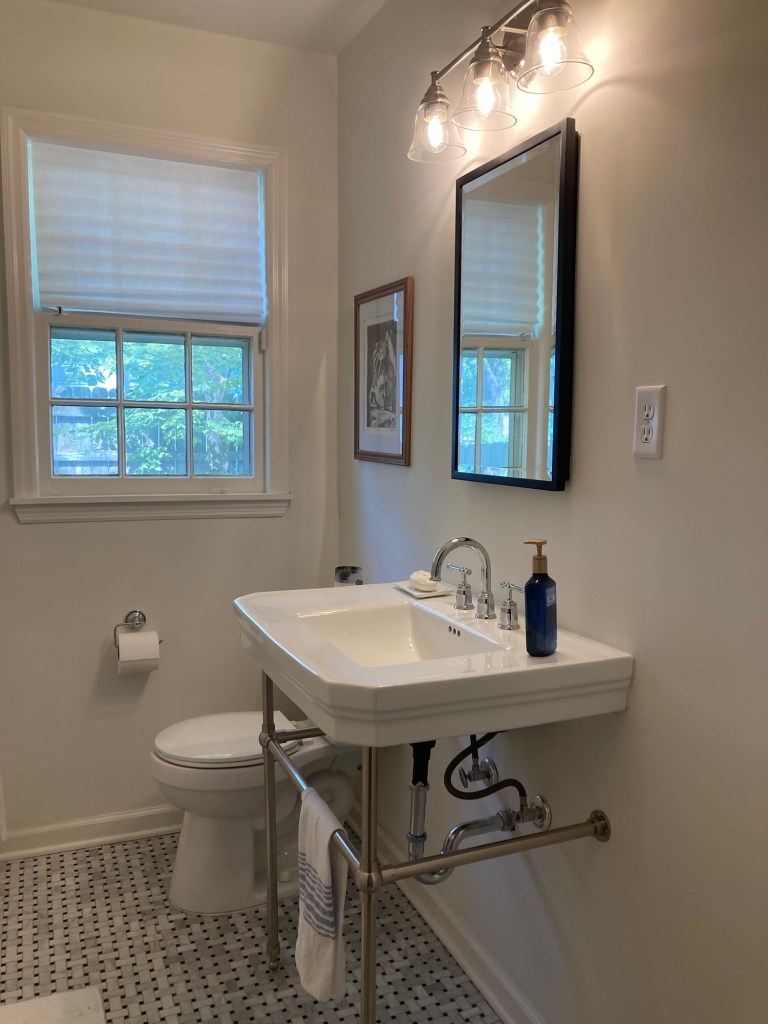
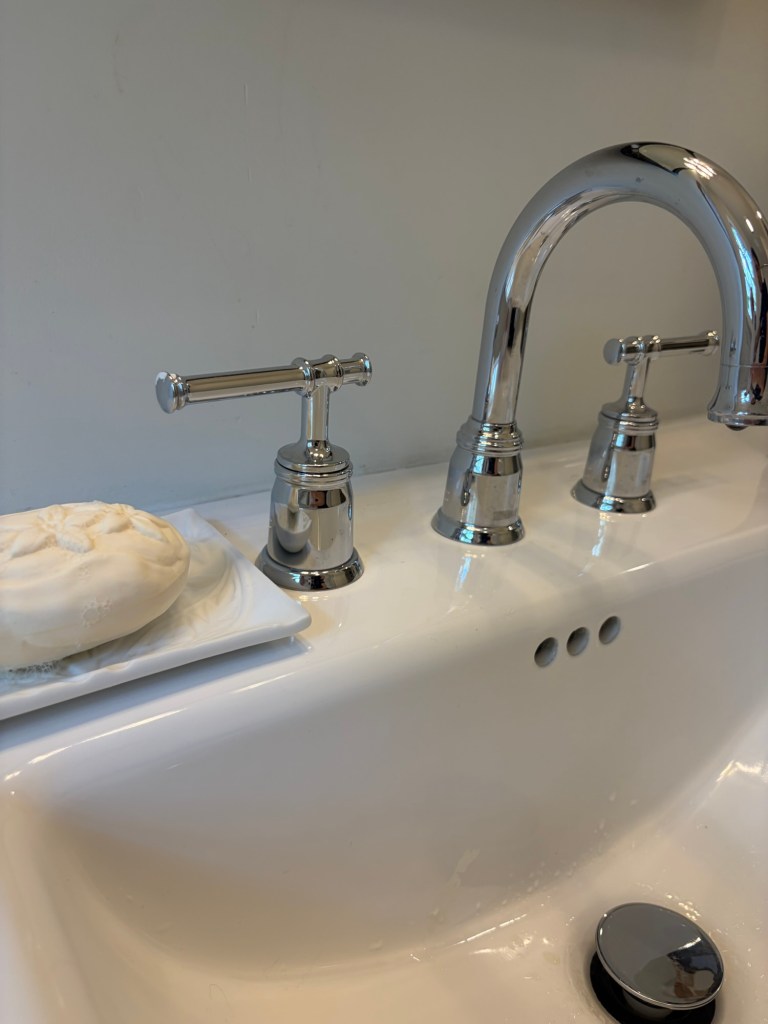
I’m so thrilled with how these bathrooms turned out! To me, they don’t just seem more elegant, I love that they feel personal instead of trendy and that they directly remind me of two of my favorite destinations.

I hope this inspires you to follow your personal vision when updating your own space!

Your hostess,

Erica

Sources:

  • All shower and floor tile: Floor & Decor
  • All hardware: Floor & Decor
  • Rectangular medicine cabinet mirror: Pottery Barn
  • Pedestal sink: Home Depot
  • Three bulb light: Home Depot

Elegantly Inexpensive: Second Chance Shrubs (an absolutely free transformation)!

Let’s start at the very beginning…of my home renovation, that is.

Giving the holly bushes a second chance

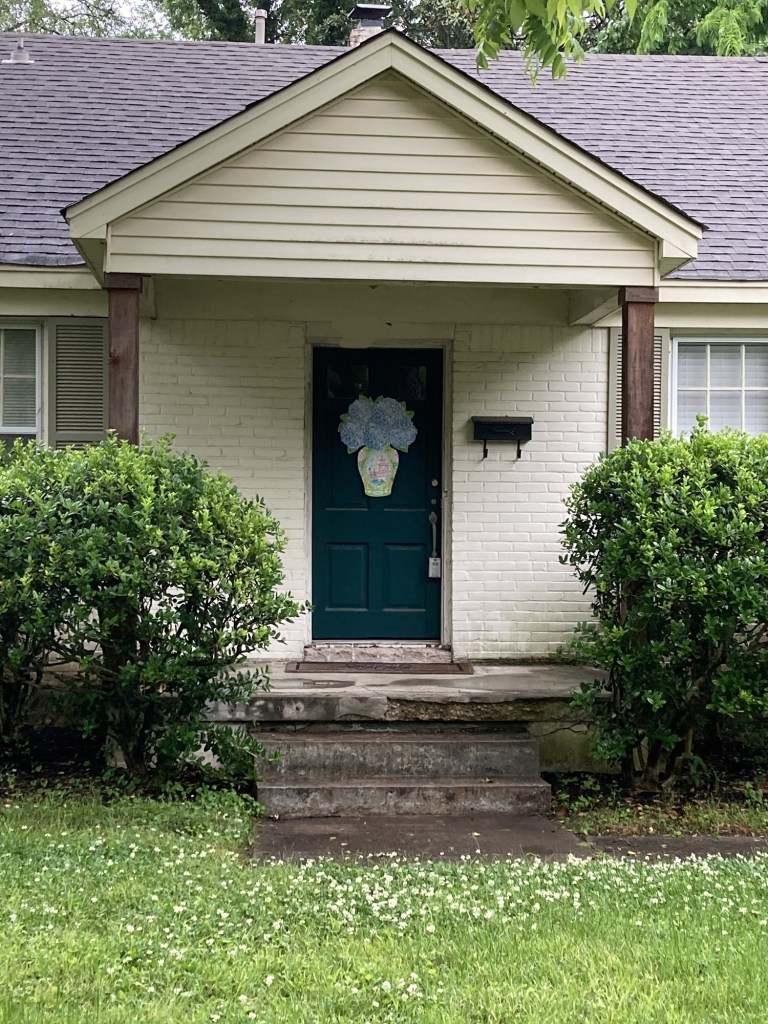
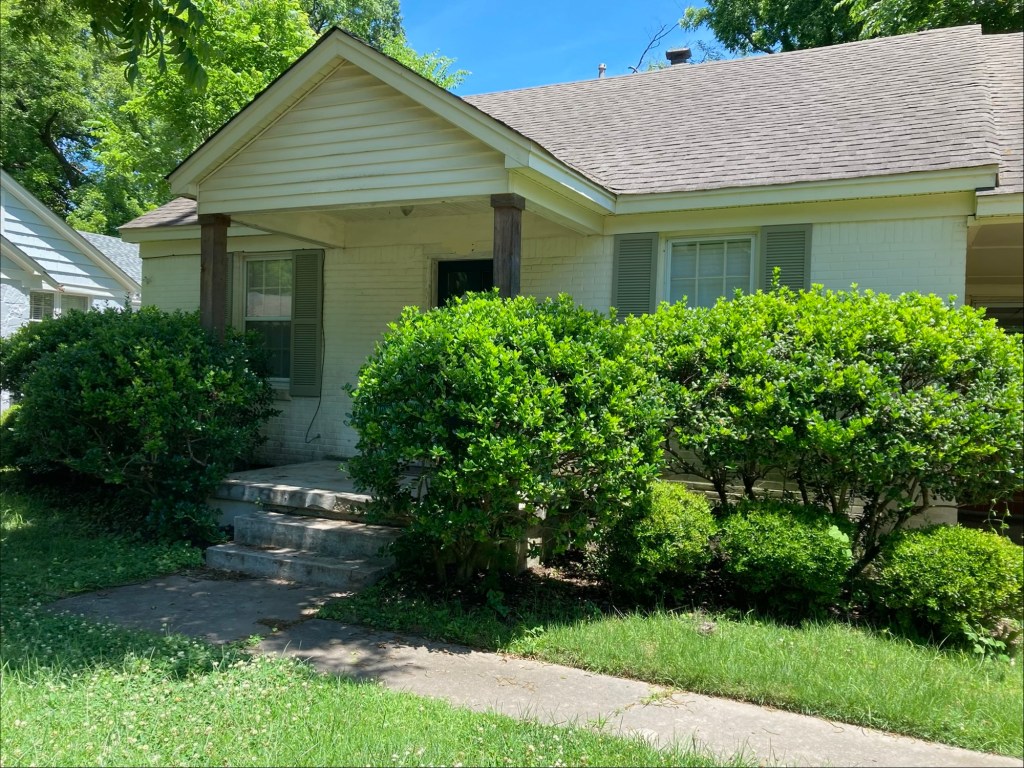
Reigning in the front yard holly bushes was the first project I ever tackled the week I bought my own fixer upper.

They were covering the windows, not elegant at all.

Tackling them was not going to be a simple feat though. As a child, I had watched both of my grandmothers spend their summers battling the hollies next to the pool. They would try anything, bleach, burning, anything they could dream up, but these hardy shrubs would grow back just the same, and sometimes with more of a vengeance, popping up through sidewalks and stairs.

So I was clearly a little daunted.

I had originally hoped to remove the holly bushes altogether. I thought they were hopeless and just ugly.

However, the only true way to remove these plants is to remove all of the root system, which means using a vehicle wench is about the only effective choice if you don’t want to dig basically forever. So my dad drove his 1976 Bronco over to lever them out

…just before I made the decision to give the plants a chance.

It was starting to seem very challenging to remove them, even with the wench, and on top of that, I wasn’t sure how expensive it would be to replace the existing shrubs.

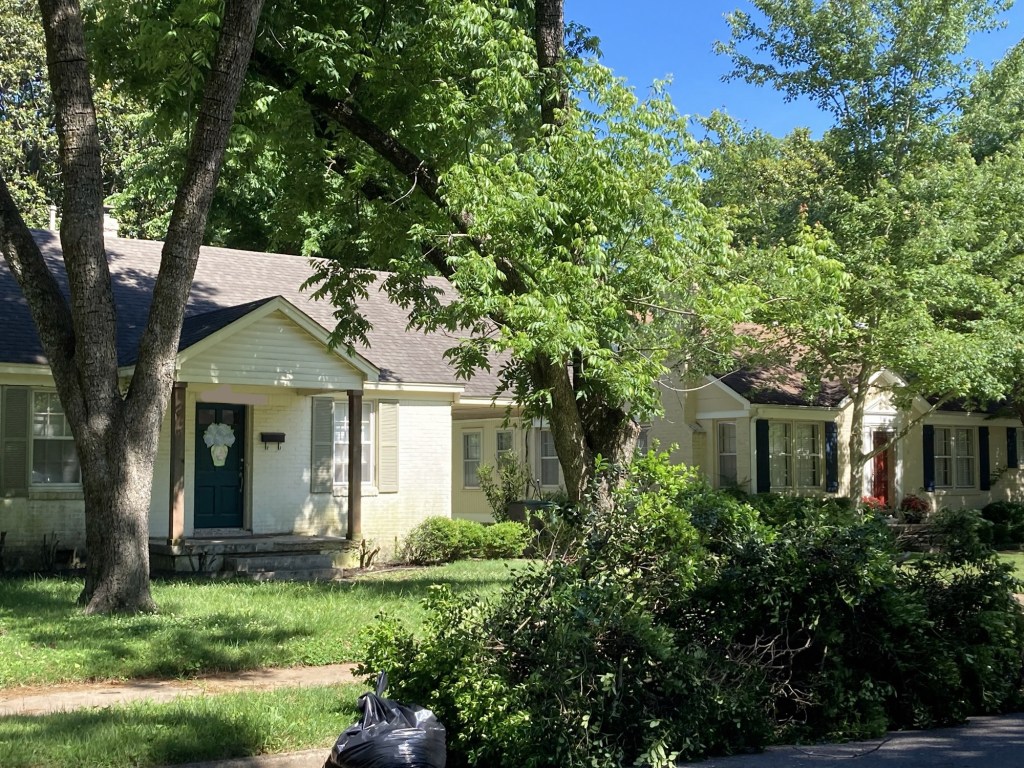
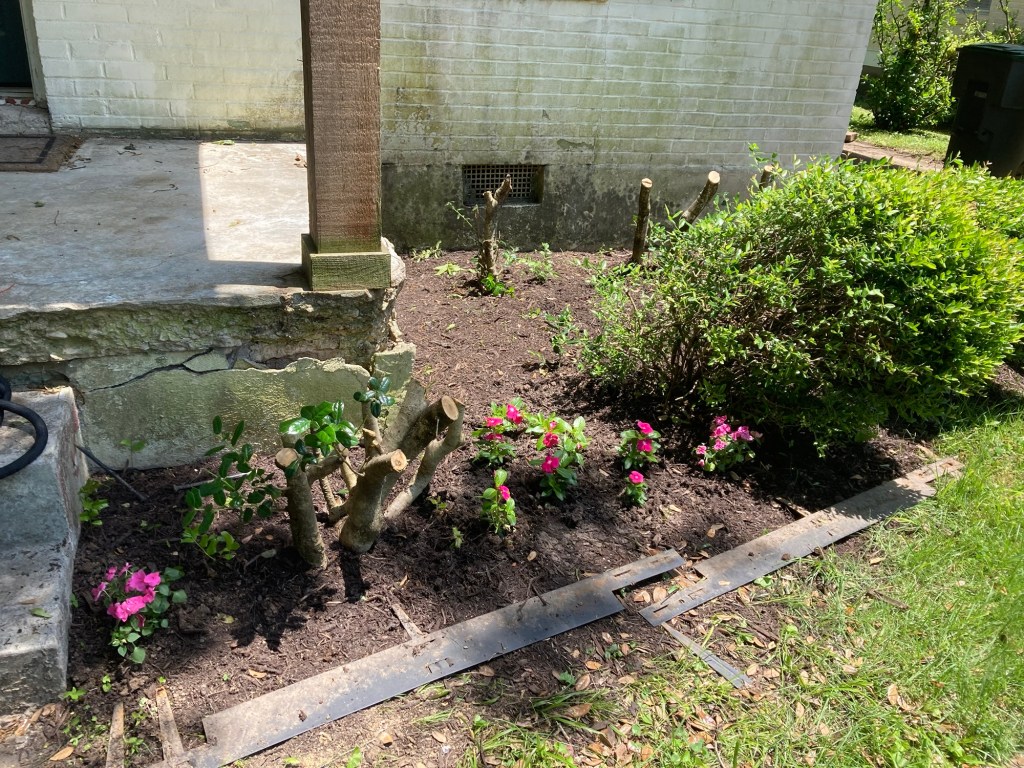
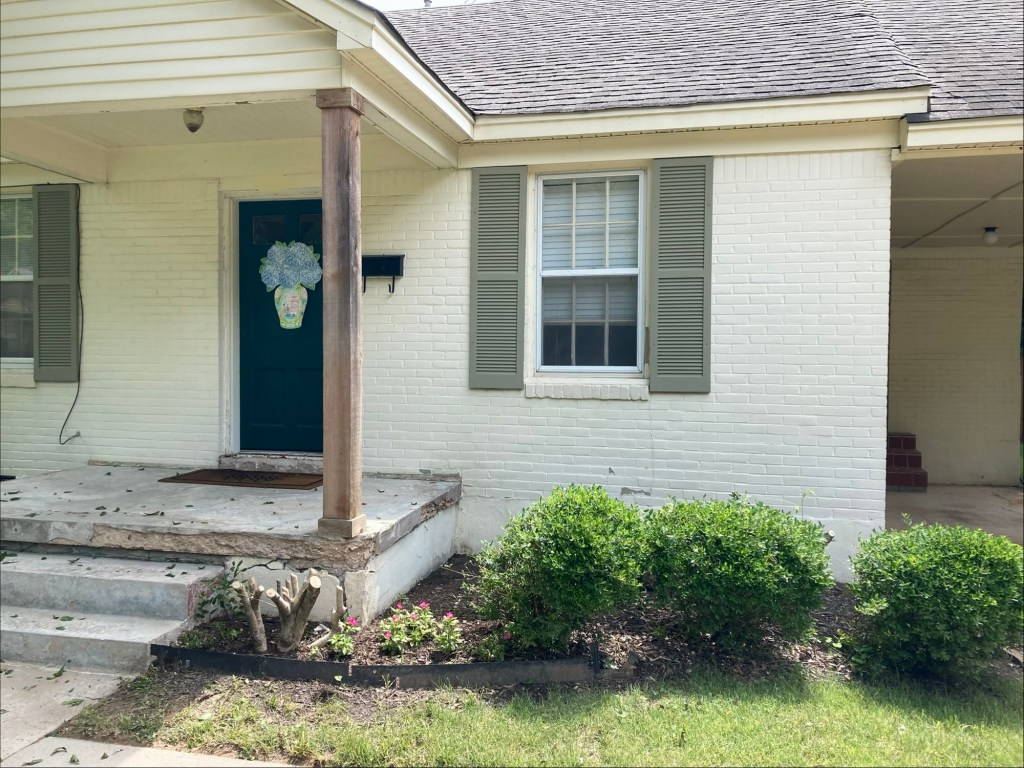
After reevaluating the situation, I chose to give them a VERY aggressive trim (note the massive debris pile on the curb), all the way to their stumps because they are almost impossible to kill.

Paired with a Power Washing

Pruning the holly bushes revealed that they had grown so close to the house there was a green stain (ignore the cracking concrete that’s a different project).

But a quick power wash brightened up the whole house!

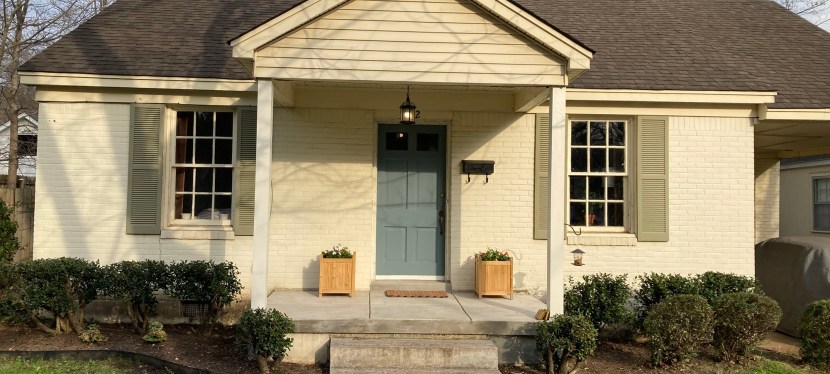
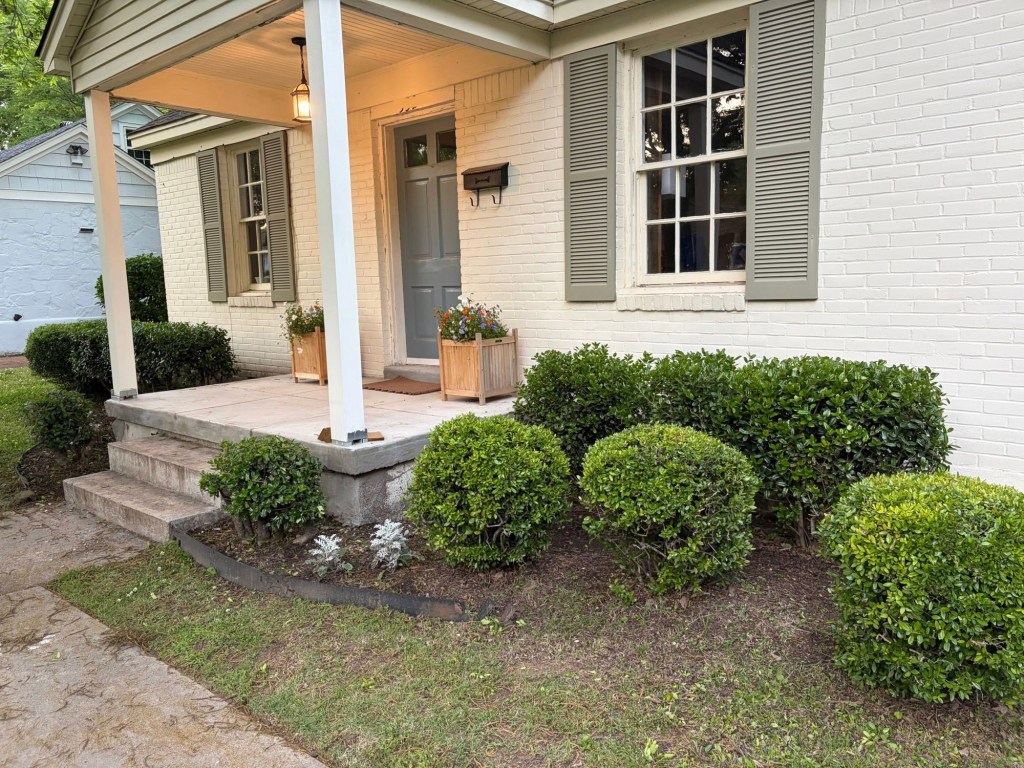
What a difference just trimming the front hedges and power washing made!

And more importantly, this was a free project!

I’ve been amazed by the impact that even absolutely free, elbow grease projects have made as I’ve worked to bring out the classic appeal of my home.

Clearly, there was a lot left to go with the front porch, but this was a rewarding start!

And I am so glad I gave the holly bushes a second chance!

These are the same bushes today!

I hope this inspires you to take a second look at your next home project and to imagine what can be achieved without a big price tag!

Your hostess,

Erica